Record the setup you want to end up with
List each screen's model, available inputs, resolution, and intended refresh rate. Include the laptop's own display if you want to keep it open. Two external monitors plus the built-in screen can be a different requirement from two monitors with the lid closed.
Decide whether the external screens must show independent desktops or simply repeat the same picture. A splitter that mirrors an image does not create extra workspace. Product listings sometimes show several displays without making that distinction obvious, so look for a supported configuration table rather than relying on the illustration.
Then identify the laptop precisely, including its processor or model variant where that changes display support. Apple's display documentation, for example, describes supported arrangements by Mac model and display mode. A dock cannot be assumed to remove a computer's native display limit.
Read the dock's compatibility table closely
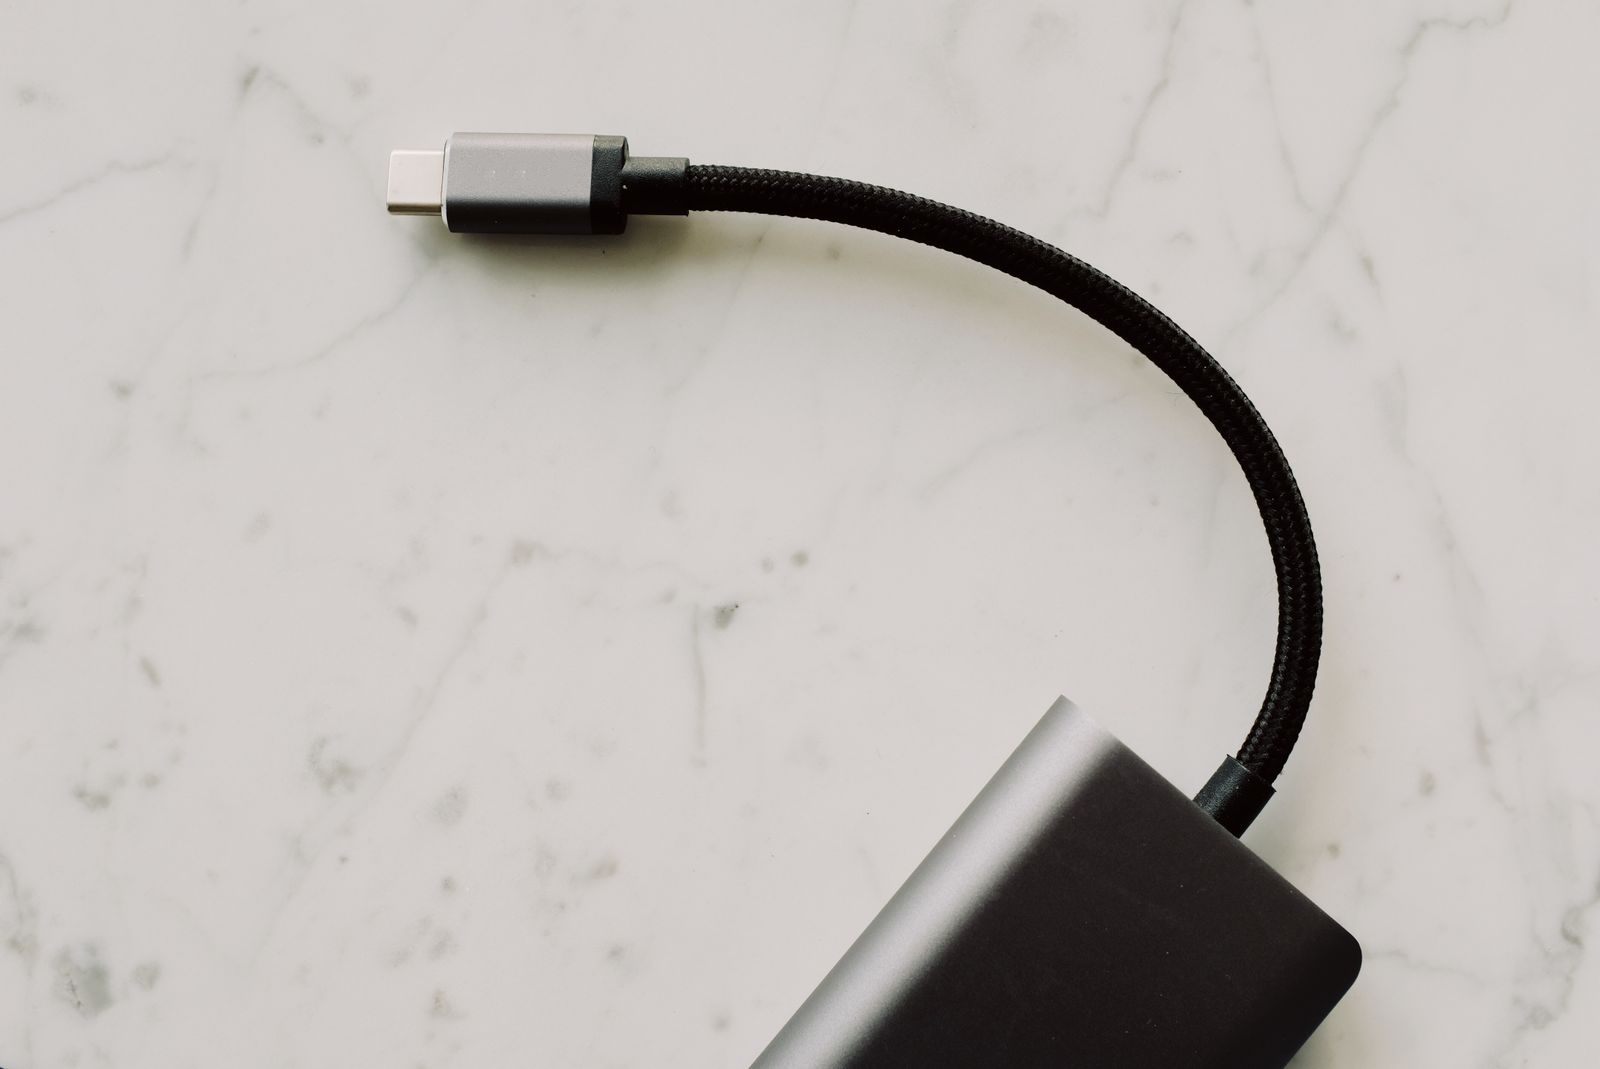
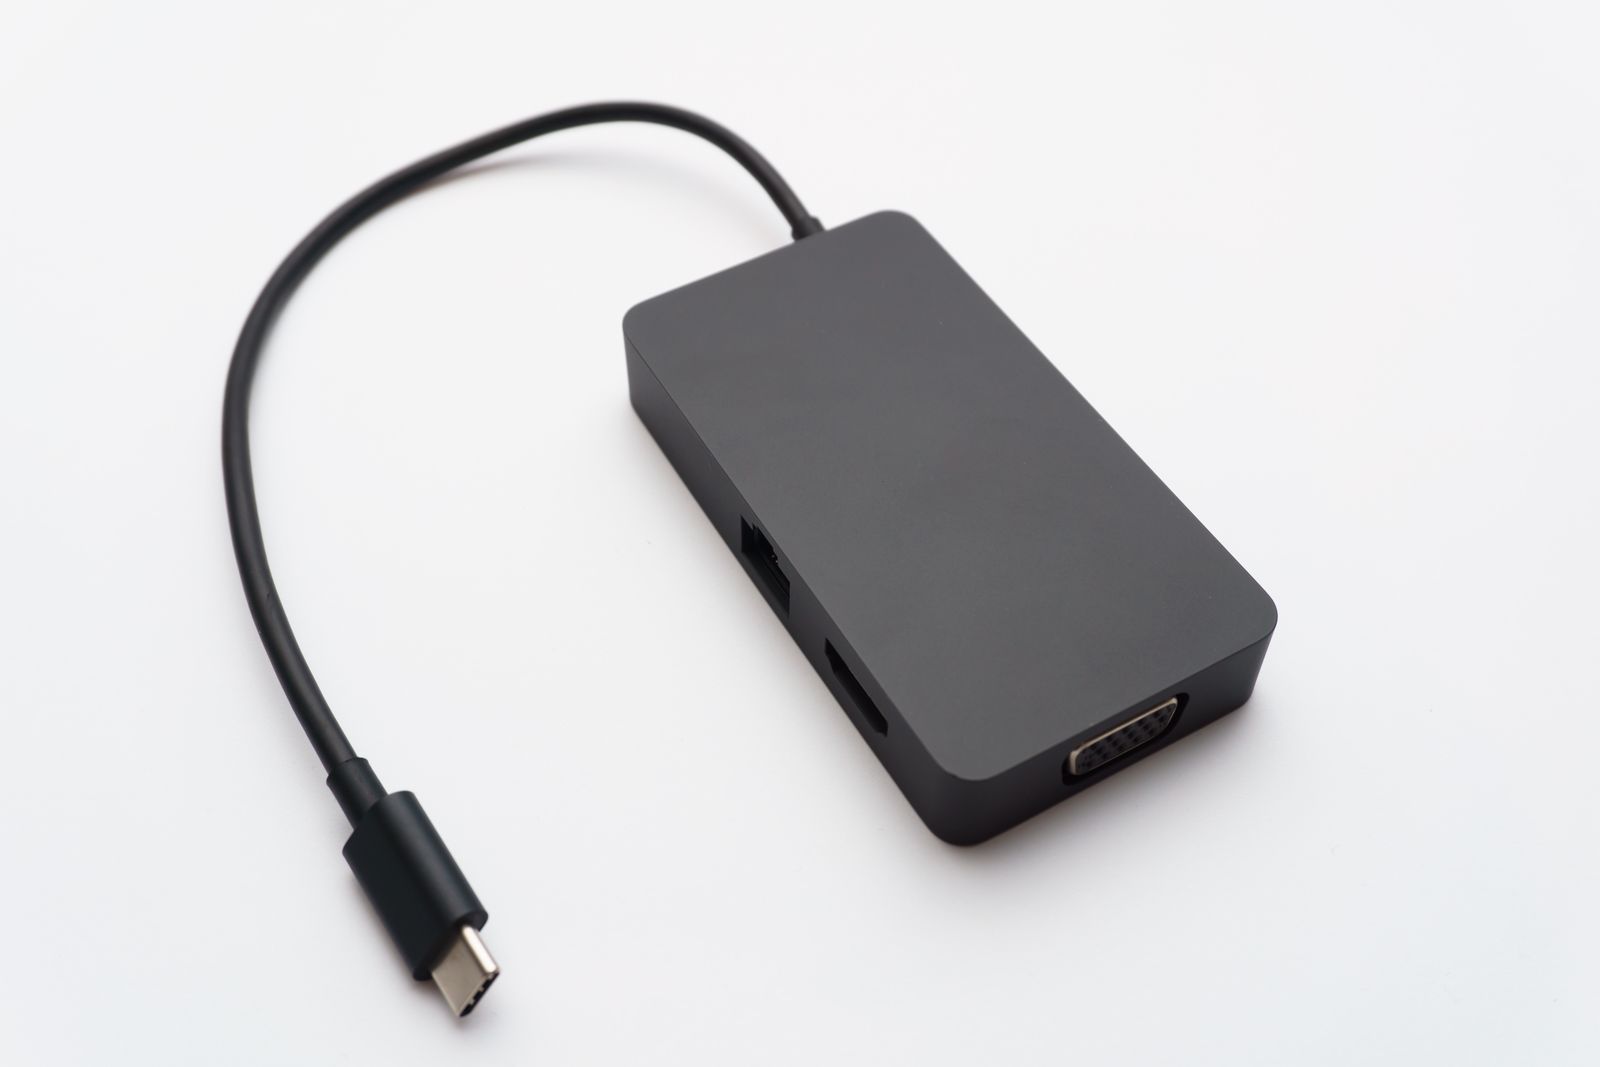
Check which host connection the dock requires: an ordinary USB data connection, USB-C with a specific video capability, USB4, Thunderbolt, or another supported arrangement. The connector fitting into the laptop does not establish that every dock feature will work.
Look for the exact combination you need rather than separate maximum claims. A dock might advertise a high resolution for one screen and a different limit when two are connected. The available modes can also depend on the operating system and how the dock carries video.
Some docks use a USB graphics solution that requires software. Read its operating-system support and limitations for the applications you use. On a managed work computer, you may not be able to install that software. Confirm the arrangement with the administrator before treating the dock as a simple hardware addition.
Check the included host cable and its length. A permanently attached short lead may place the dock in an awkward position, while replacing a detachable lead with an unsuitable one can change what works. Leave the supplied cable with the dock until you have a verified replacement.
Power and ordinary ports still matter
Find the power actually available to charge the laptop, not just the wattage printed on the power adapter. Compare it with the laptop manufacturer's requirement. If the dock cannot provide enough for your normal workload, decide whether connecting the original charger separately is acceptable.
Count the USB ports you will use at the same time: keyboard, mouse receiver, webcam, external drive, and perhaps a headset. Check spacing as well as quantity. A wide receiver can cover a neighboring port, and a front port may be easier for a drive you disconnect daily.
For wired networking and audio, check the supported features and any driver requirements. You do not need every possible connection, but the ones that replace your daily cable routine should work without an improvised chain of adapters.
Test the complete desk during the return period
Connect one display first, verify its mode, then add the second and the ordinary accessories. Test sleep and wake, reconnecting the laptop, and a normal video call. These are the moments when a setup that looked fine for a few seconds can reveal an inconvenient limitation.
Keep a note of which screen is connected to which port. If a display fails, test it directly with a known-working cable and supported laptop output. This separates a monitor problem from the dock path.
Do not discard the packaging until the desk works in the arrangement you intend to keep. A slightly simpler dock that matches the equipment is more useful than a feature-rich model that needs exceptions every morning.